Viewing entries in
recipe

Comment

Holiday Cheer

2015 is almost over. Yes we are barely in October, but I'm already listening to Christmas songs on Pandora. The weather in Los Angeles hasn't been the greatest, and it really feels as if the fall spirit is gone. I need the holiday weather to happen now so all the fun stuff can fall into place. But of course, since I am already listening to Christmas songs, you can guess I'm already jumping ahead.

I made a pear tart the other day because there was finally rain... at least for 10 minutes or so. But I went on a cozy-comfort food-holiday cooking splurge.

Velveeta Mac n Cheese-Jalapeno-Bacon-Mapled

Recipe:

  • 1 Box of Velveeta shell cheddar Mac n Cheese
  • 1/2 a Jalapeno (depends on how spicy your Jalapeno is and how spicy you want it to be)
  • 5 strips of bacon. Because bacon is always good.

Preheat the oven at 400 degrees layering your bacon on a sheet pan (I line it with parchment). At 10-12 minutes, take a peek to see how your bacon is doing because all ovens are different. Once your bacon start crisping up, I take maple syrup and drizzle it on 2 strips of bacon. As it sizzles, remove the 3 bacon without the syrup and let it soak on some paper towels. The other 2 in the oven with the syrup, make sure to keep an eye on because it can burn quick. I sprinkled just a little kosher salt because I used low sodium bacon. Flipped the bacon and added a little more syrup with just a hint more salt.

I chopped up the 3 strips of bacon and mixed it into the Mac n Cheese with the Jalapenos. (The Mac is made standard according to the box). I got some panko bread crumbs, tossed it with the bacon fat and let the heat toast the crumbs before putting them on top of the dish. Layer your mapled bacon and there you go! comfort Mac Bacon Cheese Jalapeno something!

** So yummy. I don't recommend you sticking this into the fridge to preheat it in the oven because the cheese does dry out.

Chile/spiced rubbed chicken

Find the recipe HERE.

Basically, follow the recipe in the link, minus the honey and lemon.

I oiled a baking dish with 5 cloves of smashed garlic. A little salt was sprinkled as well. After patting dry and layering the chicken (about 2-3 pounds) I sprinkled the rub on top followed by some olive oil. Massage the rub and oil onto the skin.

The chicken was baked at 375 for 40-45 minutes and I will gradually increase the temperature to 400 at around 30-35 minutes (depends on your oven and chicken size). Don't be intimidated by the crust, it is just blackened and it is delicious.

A simple store bought coleslaw mix was served with this meal. I had hearts glowing all over my face.

Are you ready for the holidays? We wait the whole year for this! why not start early?

Let me know if you have any questions!

Happy COoking!

Daiisies


Comment

Comment

Pear Tart

It's finally raining and cooling down out here in Los Angeles. Well I wouldn't really call it rain since it stopped for a few hours, but I am anticipating a lot heavy pours this year *fingers cross*. I've been almost indoors all day with the exception of getting some groceries. Cooking and baking becomes so enjoyable in this weather. I am loaded up with a lot of coffee to not get sucked into this hibernating weather. It's so tempting to grab my cat, Ford, and snuggle with him under the sheets. Yeah he will try to fight his way out, but sooner or later he gets tired and just lays there, and tells me he hates me and how much I smell like bacon.

I decided to bake today. Just to remind you guys, I am a terrible baker. To follow recipes step by step is such a task for me. I don't think I've ever made a sweet baked dish that came out exactly what I wanted, because I would miss a step.... or 6...

Tornado Pear Tart Recipe:

Crème pâtissière (sounds sexier than Pastry Cream):

  • 2 Cups of whole milk
  • 1/4 cup + 1/3 cups of sugar
  • 1 Egg + 2 Egg yolks
  • 1 teaspoon of Vanilla Extract
  • 2 Tablespoons of butter
  • 1/4 cup of flour
  • 1/4 teaspoon of Baking Powder

Heat the 2 cups of milk with the 1/4 cup of sugar on medium high heat and stir occasionally. In a separate mixing bowl, I mixed the eggs, 1/3 cup of sugar, a pinch of salt, and the 1/4 cups of flour (make sure to whisk until smooth).

When your milk starts to simmer, I removed it from the heat and ladle very slowly into the egg mixture while whisking at the same time. Because I'm paranoid, I slowly added about half the milk and whisking it like crazy before putting it back into the pot. I then put the pot back on the stove, but on medium low. The creme is whisked until it gets to a thick-gloopy consistency. Like this:

Crème pâtissière

When it gets to a thick yogurt consistency, I then add the 2 tablespoons of butter and the 1 teaspoon of Vanilla extract. Whisk again and pour it into a bowl with saran wrap on the cream so it does not form a layer. After the temperature drops a little, stick it into the fridge to cool before using.

Crust:

  • 1 Cup of flour
  • 1 stick of butter
  • 1 egg
  • 1/4 cup of sugar
  • pinch of salt

With a food processor, I put all the dry ingredients and pulsed a few times to mix them evenly. Next I would drop the egg and pulse (you will notice the dough turns into little pebbles). I got the butter, chopped a few chunks, and pulsed it into the flour until it formed a dough. The dough is very soft and a little hard to work with, so I would kneed a little more flour (about 1/4 cup) before forming it into my tart pan.

My tart pan was buttered slightly. I layered the pastry cream on top followed by canned pears I drained and sliced.

SO. Since I suck at following the rules of baking, I totally forgot to pre-bake my stupid tart. Don't forget to do this. Freeze your crust for about 30 minutes so the dough can come back together (Basically fast chilling it). Take a fork and poke your crust a few times allowing steam to escape. After you bake your crust for about 10 minutes at 400 degrees, take it out to let it rest a bit before layering the cream.

About 1/2 the pastry cream goes into the tart. Layer the pears and let it bake for 40 minutes on 350.

Tornado Pear Tart

Ok I think I'm calling it a tornado because my kitchen was a mess afterwards. Since I didn't bake my crust first, I was kind of surprise that it was still passable. I actually roasted the tart in the oven for about 15 minutes, before switching it over to baking. Because when you roast, the heat generates more so from the bottom of the oven, which is what I needed since I'm anticipating the bottom of the crust will be the most difficult to cook.

I added a little sprinkle of sugar around the crust 5 minutes before removing it from the oven. Let it cool for about 15-20 minutes before removing it from the tin (HOT). Slice it and serve with some coffee or tea.

Please don't go nuts on me with the steps that I took to make this. I've already forgiven myself for the crust...

Happy baking!

Daiisies


Comment

Comment

Europane

I call this place You're-a-pain. It just feels easier that way. I stopped by here quickly to grab breakfast for my boss and I. I have to feed him or else I would get thrown out the nearest window. 

950 E Colorado Blvd Ste 107

Pasadena, CA 91106

This place gets really packed in the morning. I swear, everyone that was in line were half awake when being asked what they wanted to order. If they asked you "would you like that toasted?", it's a yes please or no it's okay answer.. I wanted to slap every single person that responded with "Huh?".

I knew exactly what I wanted and it's also the only thing I would get from here for breakfast. They have these savory muffins that are pretty awesome.

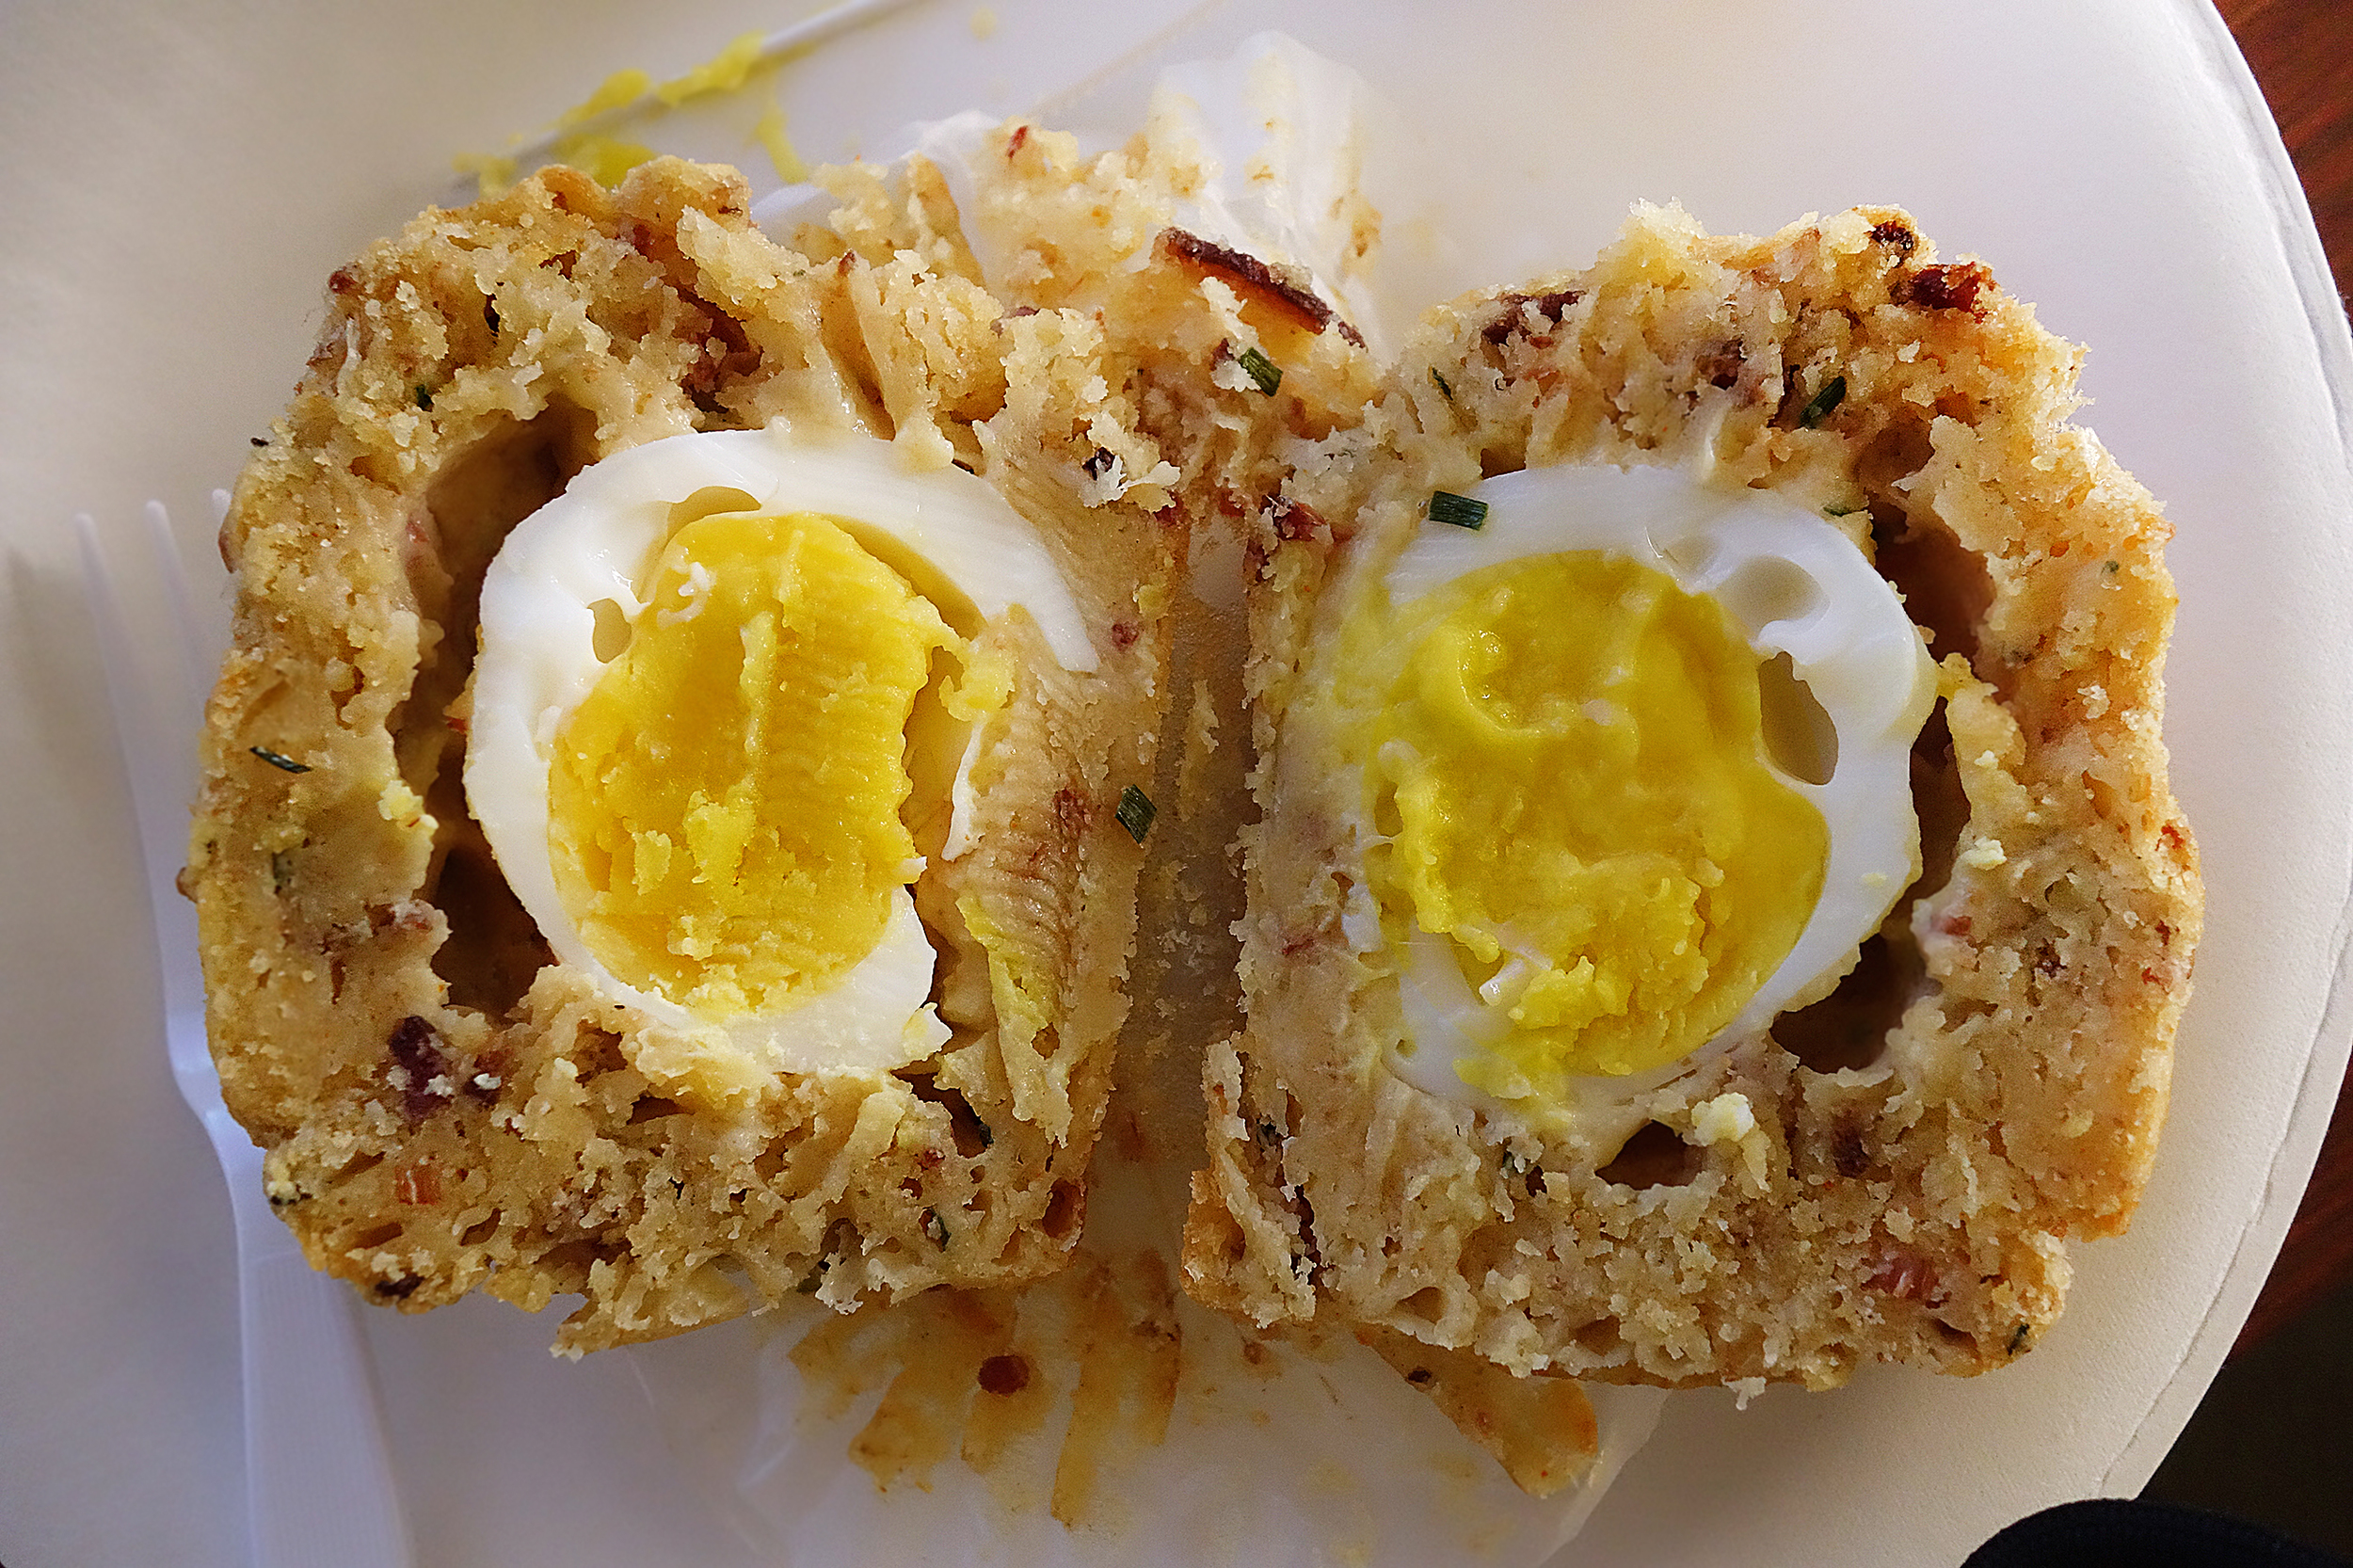
Savory Muffin

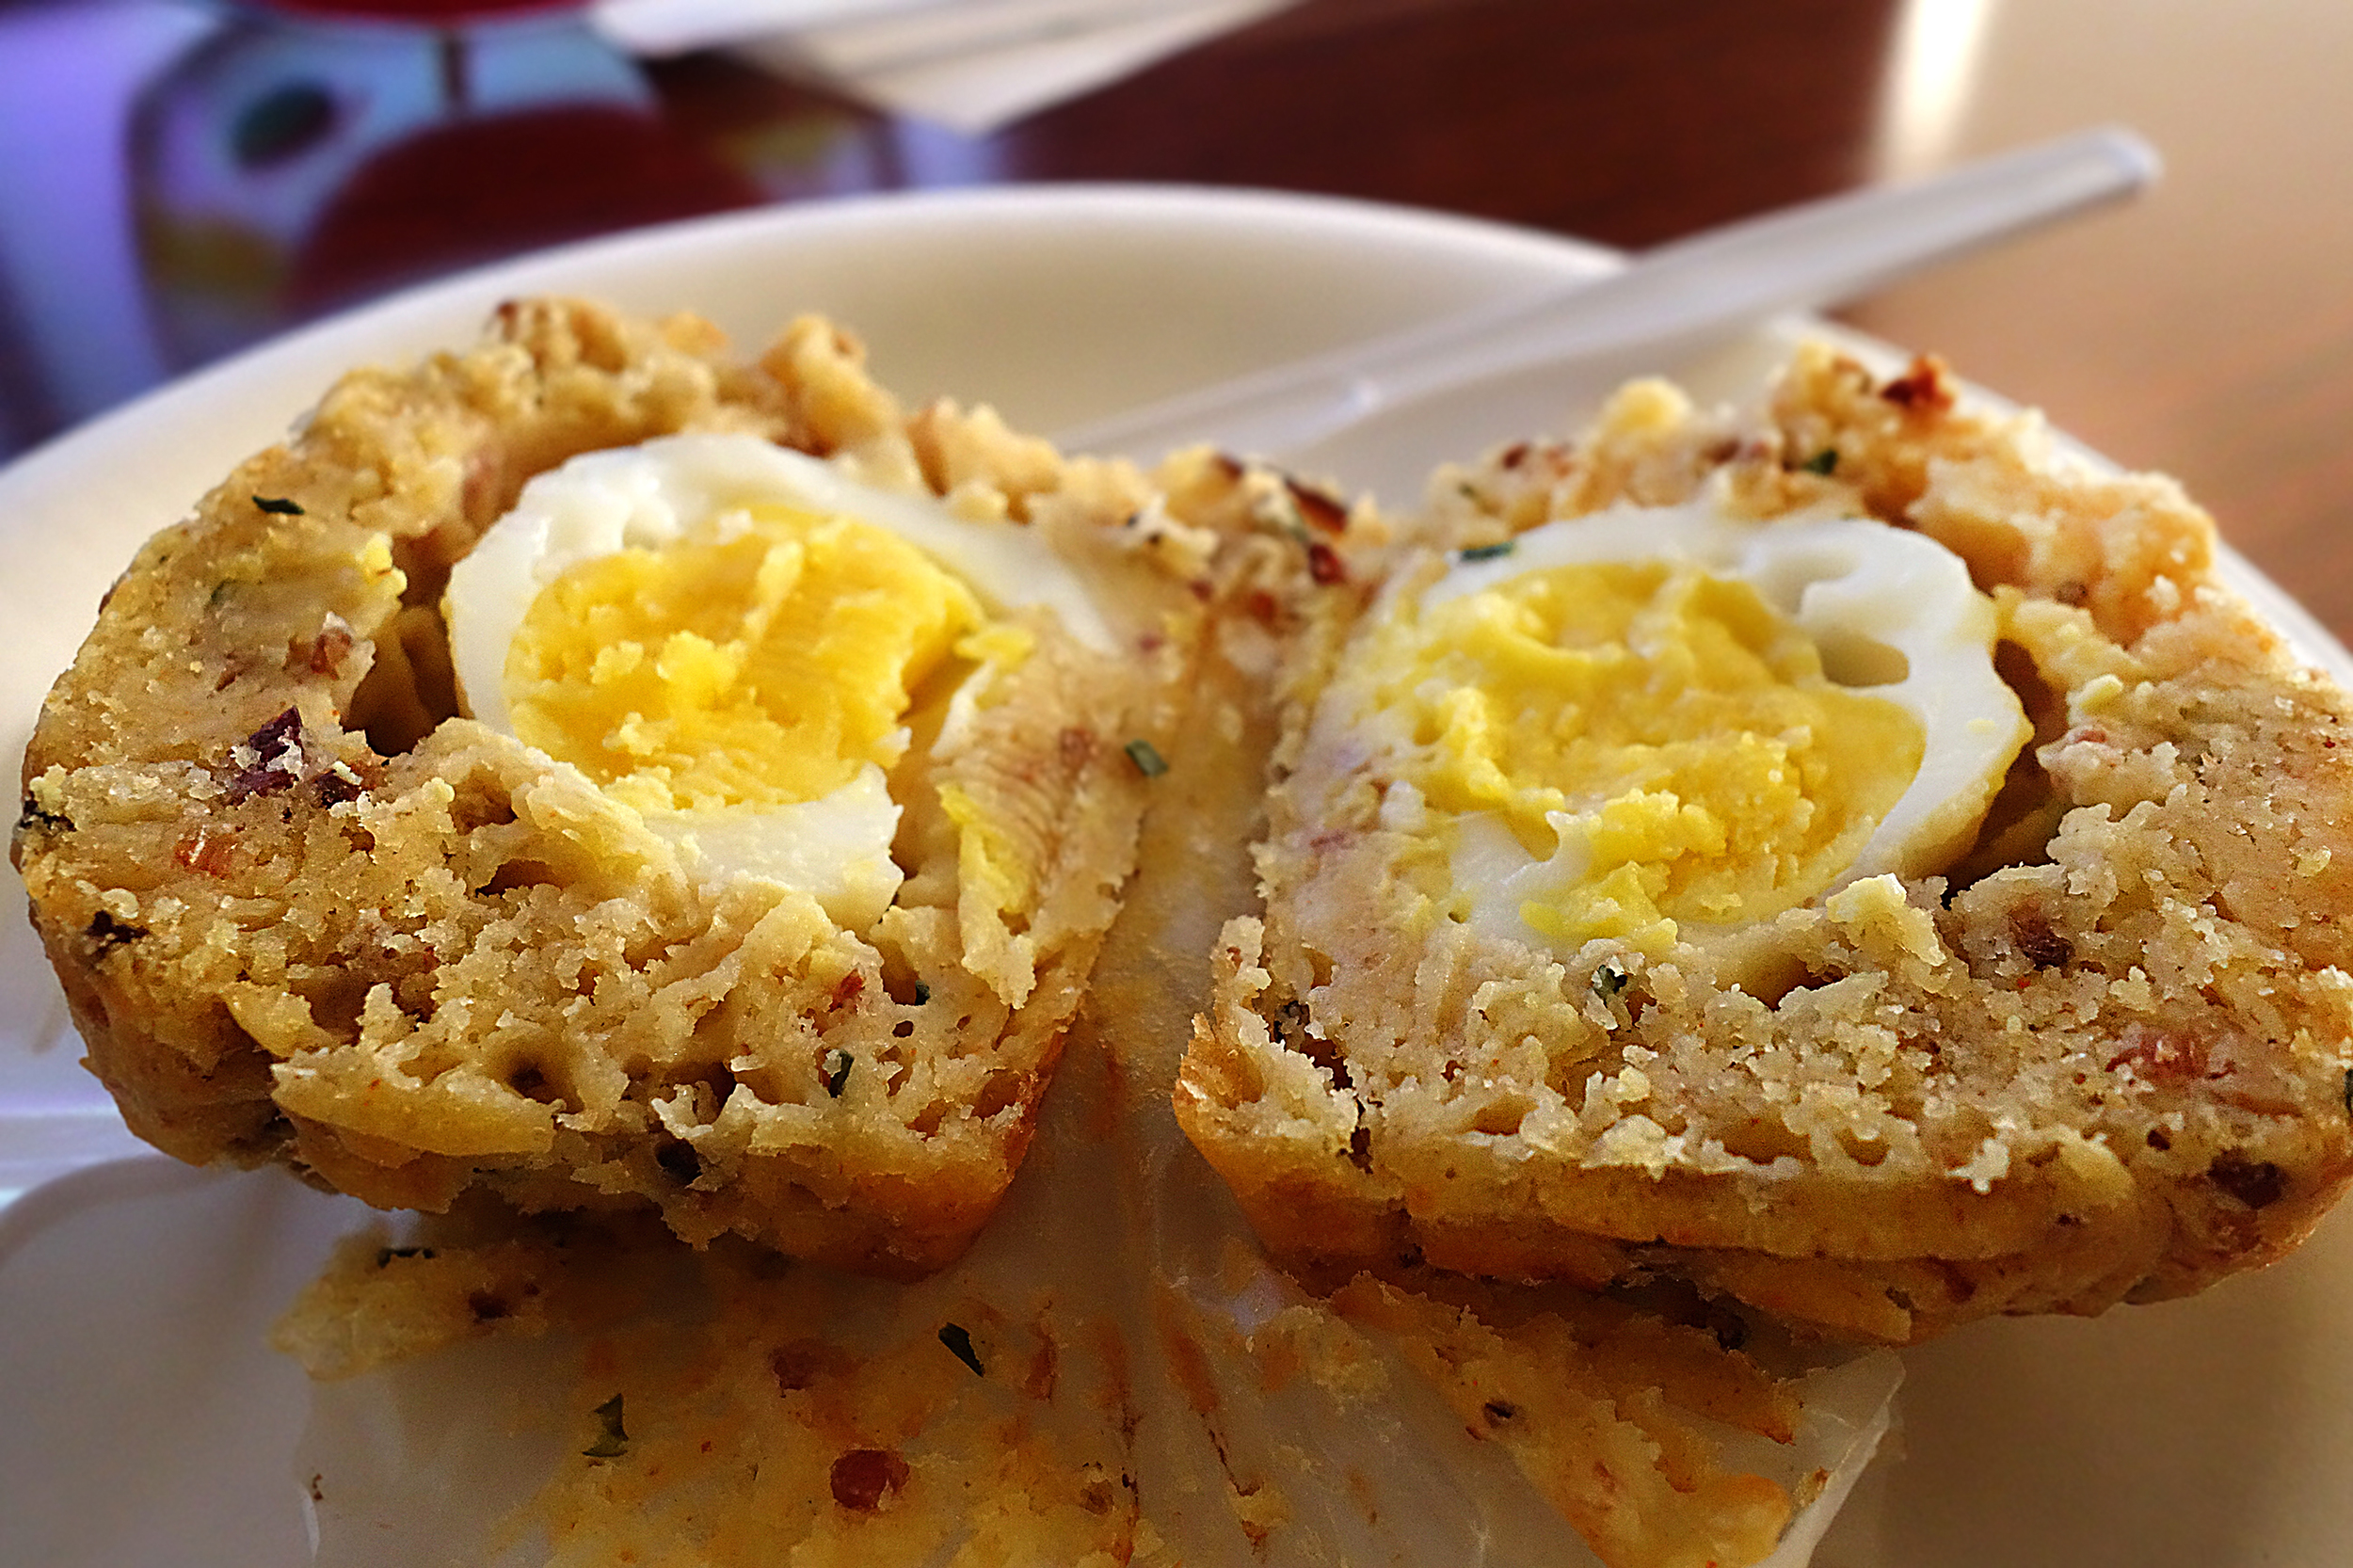
This is a cheddar muffin with Jalapenos and bacon. But wait. Cut this 50 pound thing open to find:

A Soft boiled egg. This muffin is a little tricky to make. Baked in the oven for too long and you can over cook the eggs. Baked under and you will be asking for a soft muffin.
It needed a little more time in the oven, and the eggs needed to be cooked a little less before baking. Sounds like a lot of work, but that's why this thing costs like $6 bucks each (thanks a lot boss).

Don't worry y'all. A recipe is in the making and I will share it in no time. This will be a great breakfast treat with family and friends during the holidays, or a late night episode with your favorite TV series or movie.

Thank me later!

Daiisies

Comment

Comment

Chinese Herbal Rib

This dish was something my dad loved to make and another one of those dishes that I took for granted growing up. I'm glad that I am still young enough to appreciate it and not older. I wouldn't want to regret missing out all the comfort foods that I grew up eating with my family. Having breakfast with my dad every Saturday has been something that I've been doing religiously. No matter what circumstances, even if I'm hungover, I'll still meet him for breakfast.

-- Wow... a car drove by right now with "Hotel California" BLASTING. Just saying.. that person needs to chill.

One of the things my dad loves to talk about is the food that he makes. This is what brought us to this dish that I'm going to show you. The dish consists of a herbal mix and spareribs. I will be using Pork ribs for this because that is what I have.

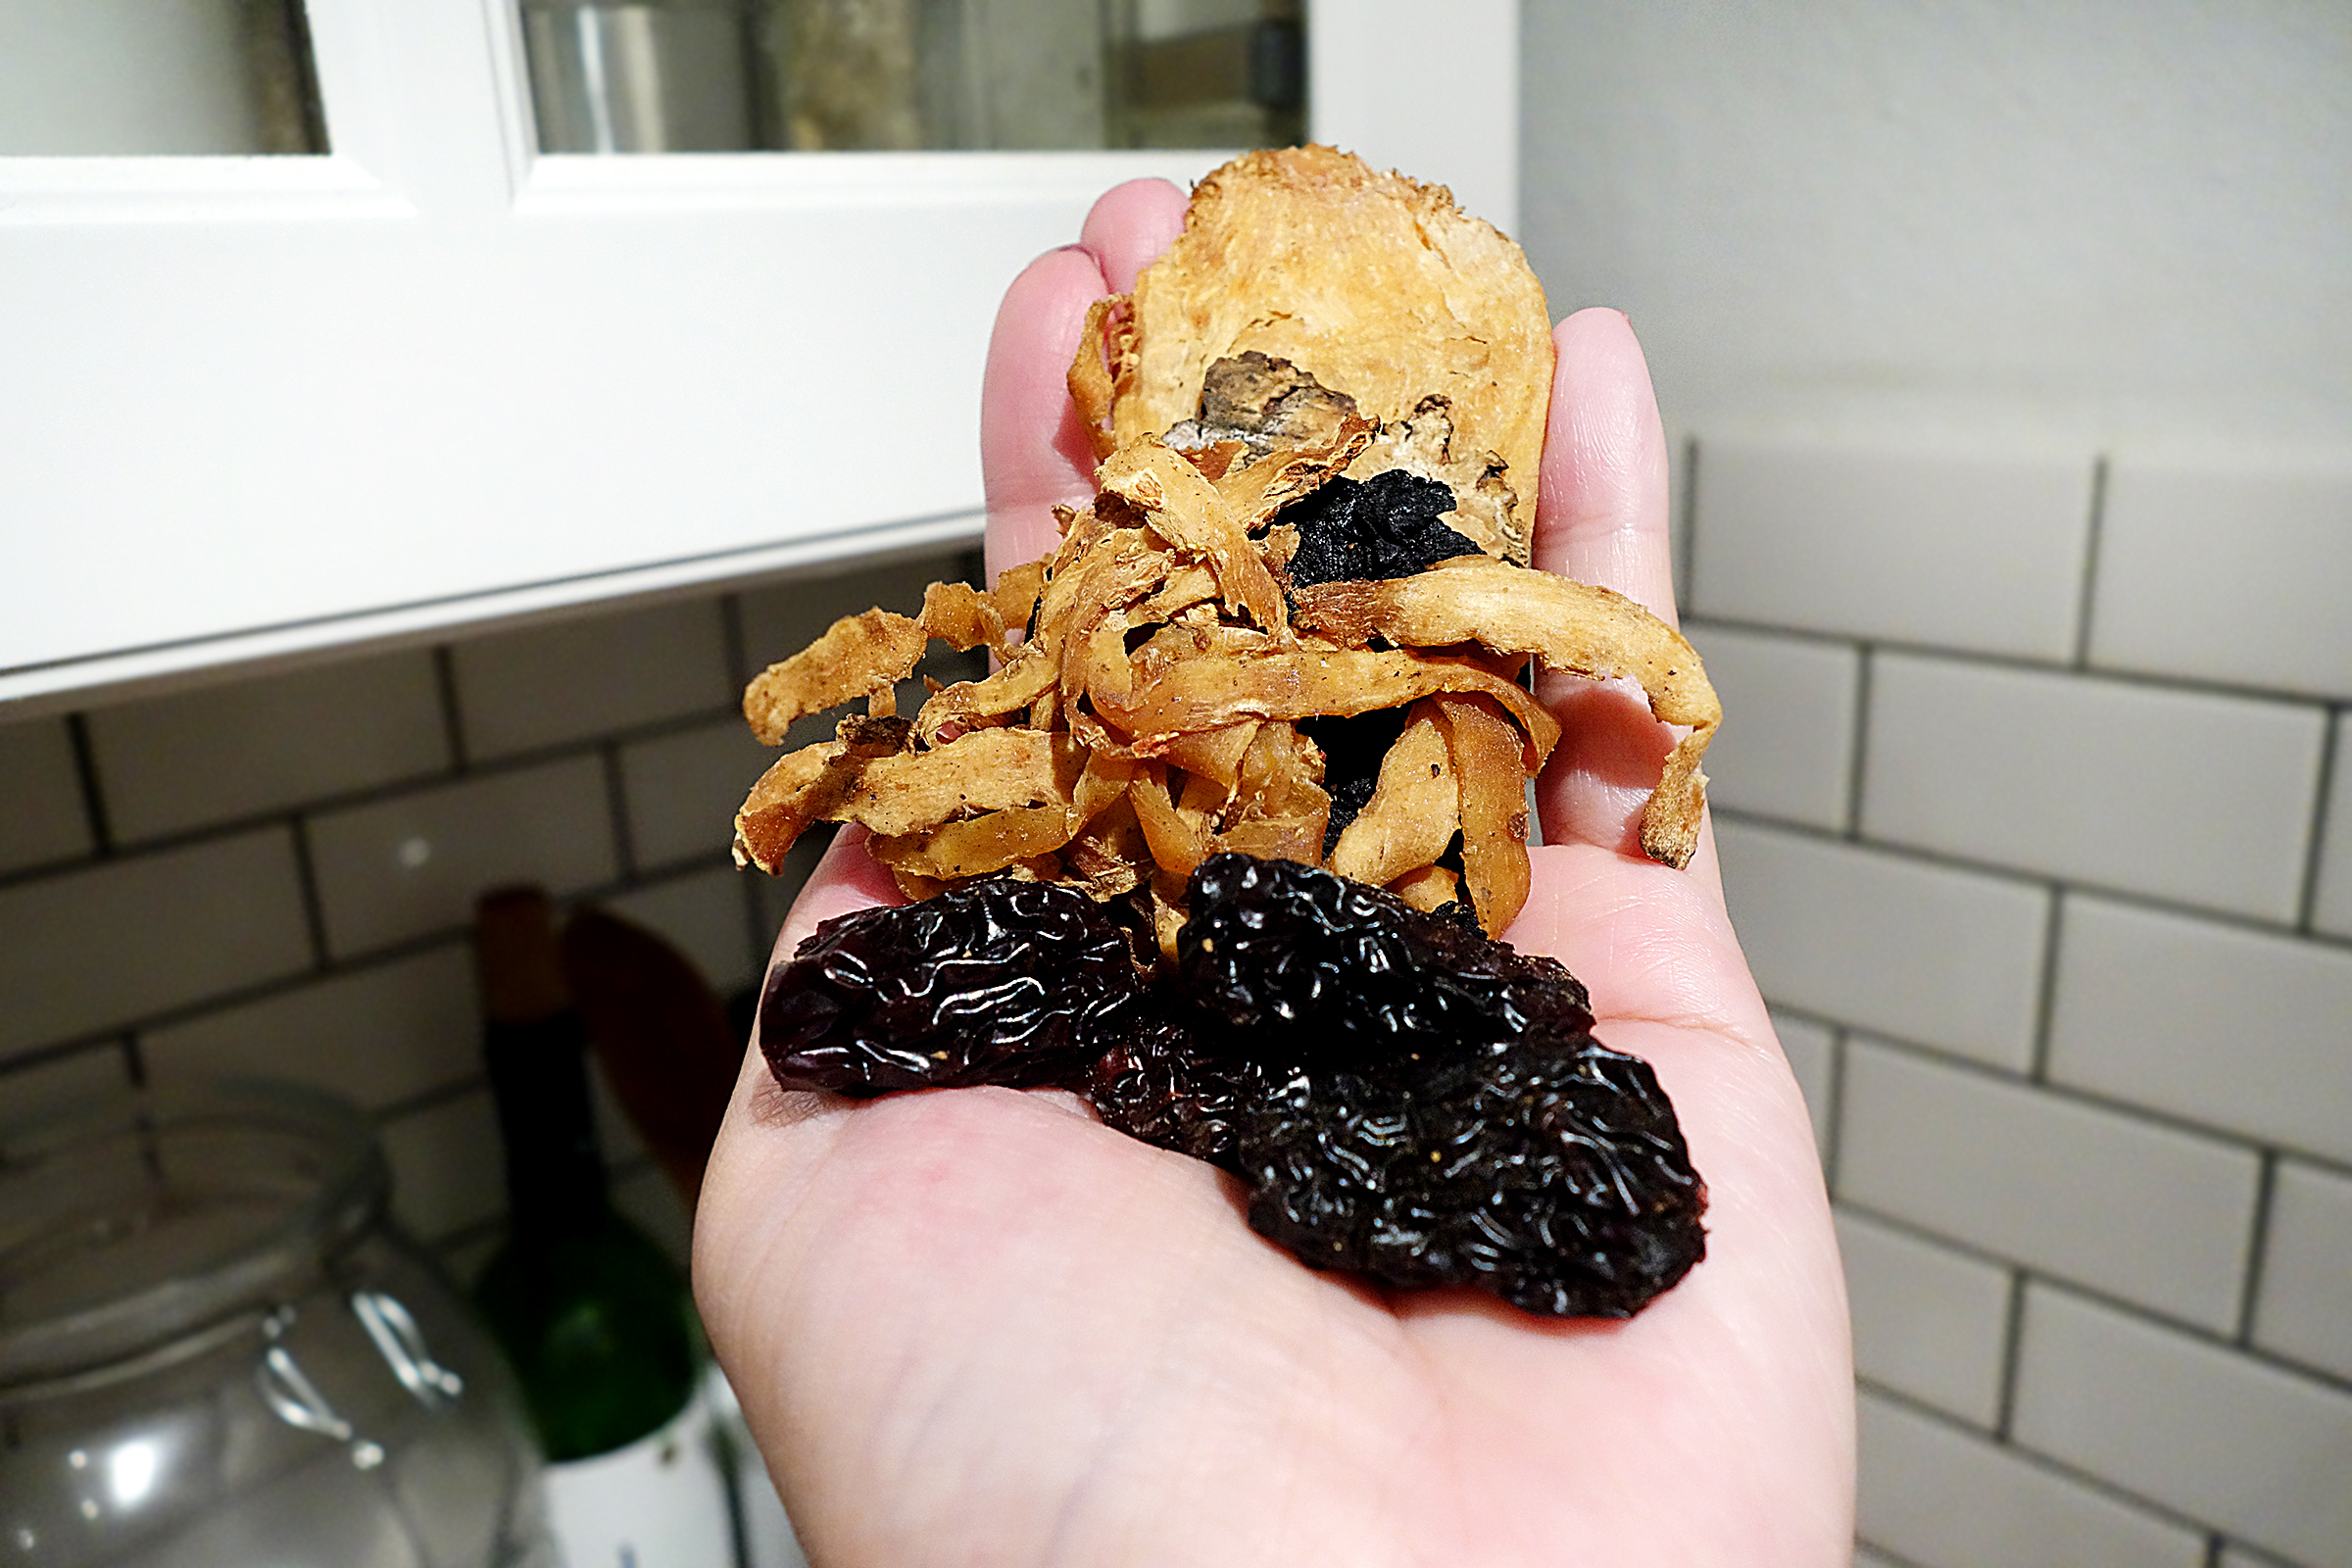
Herbal Mix

You can try to make your own, but honestly, unless you are trying to open a restaurant that specializes in this, just get the package. Don't trouble yourself because it's not worth it. You will probably find this mix at every Chinese market near you like 99 Ranch.

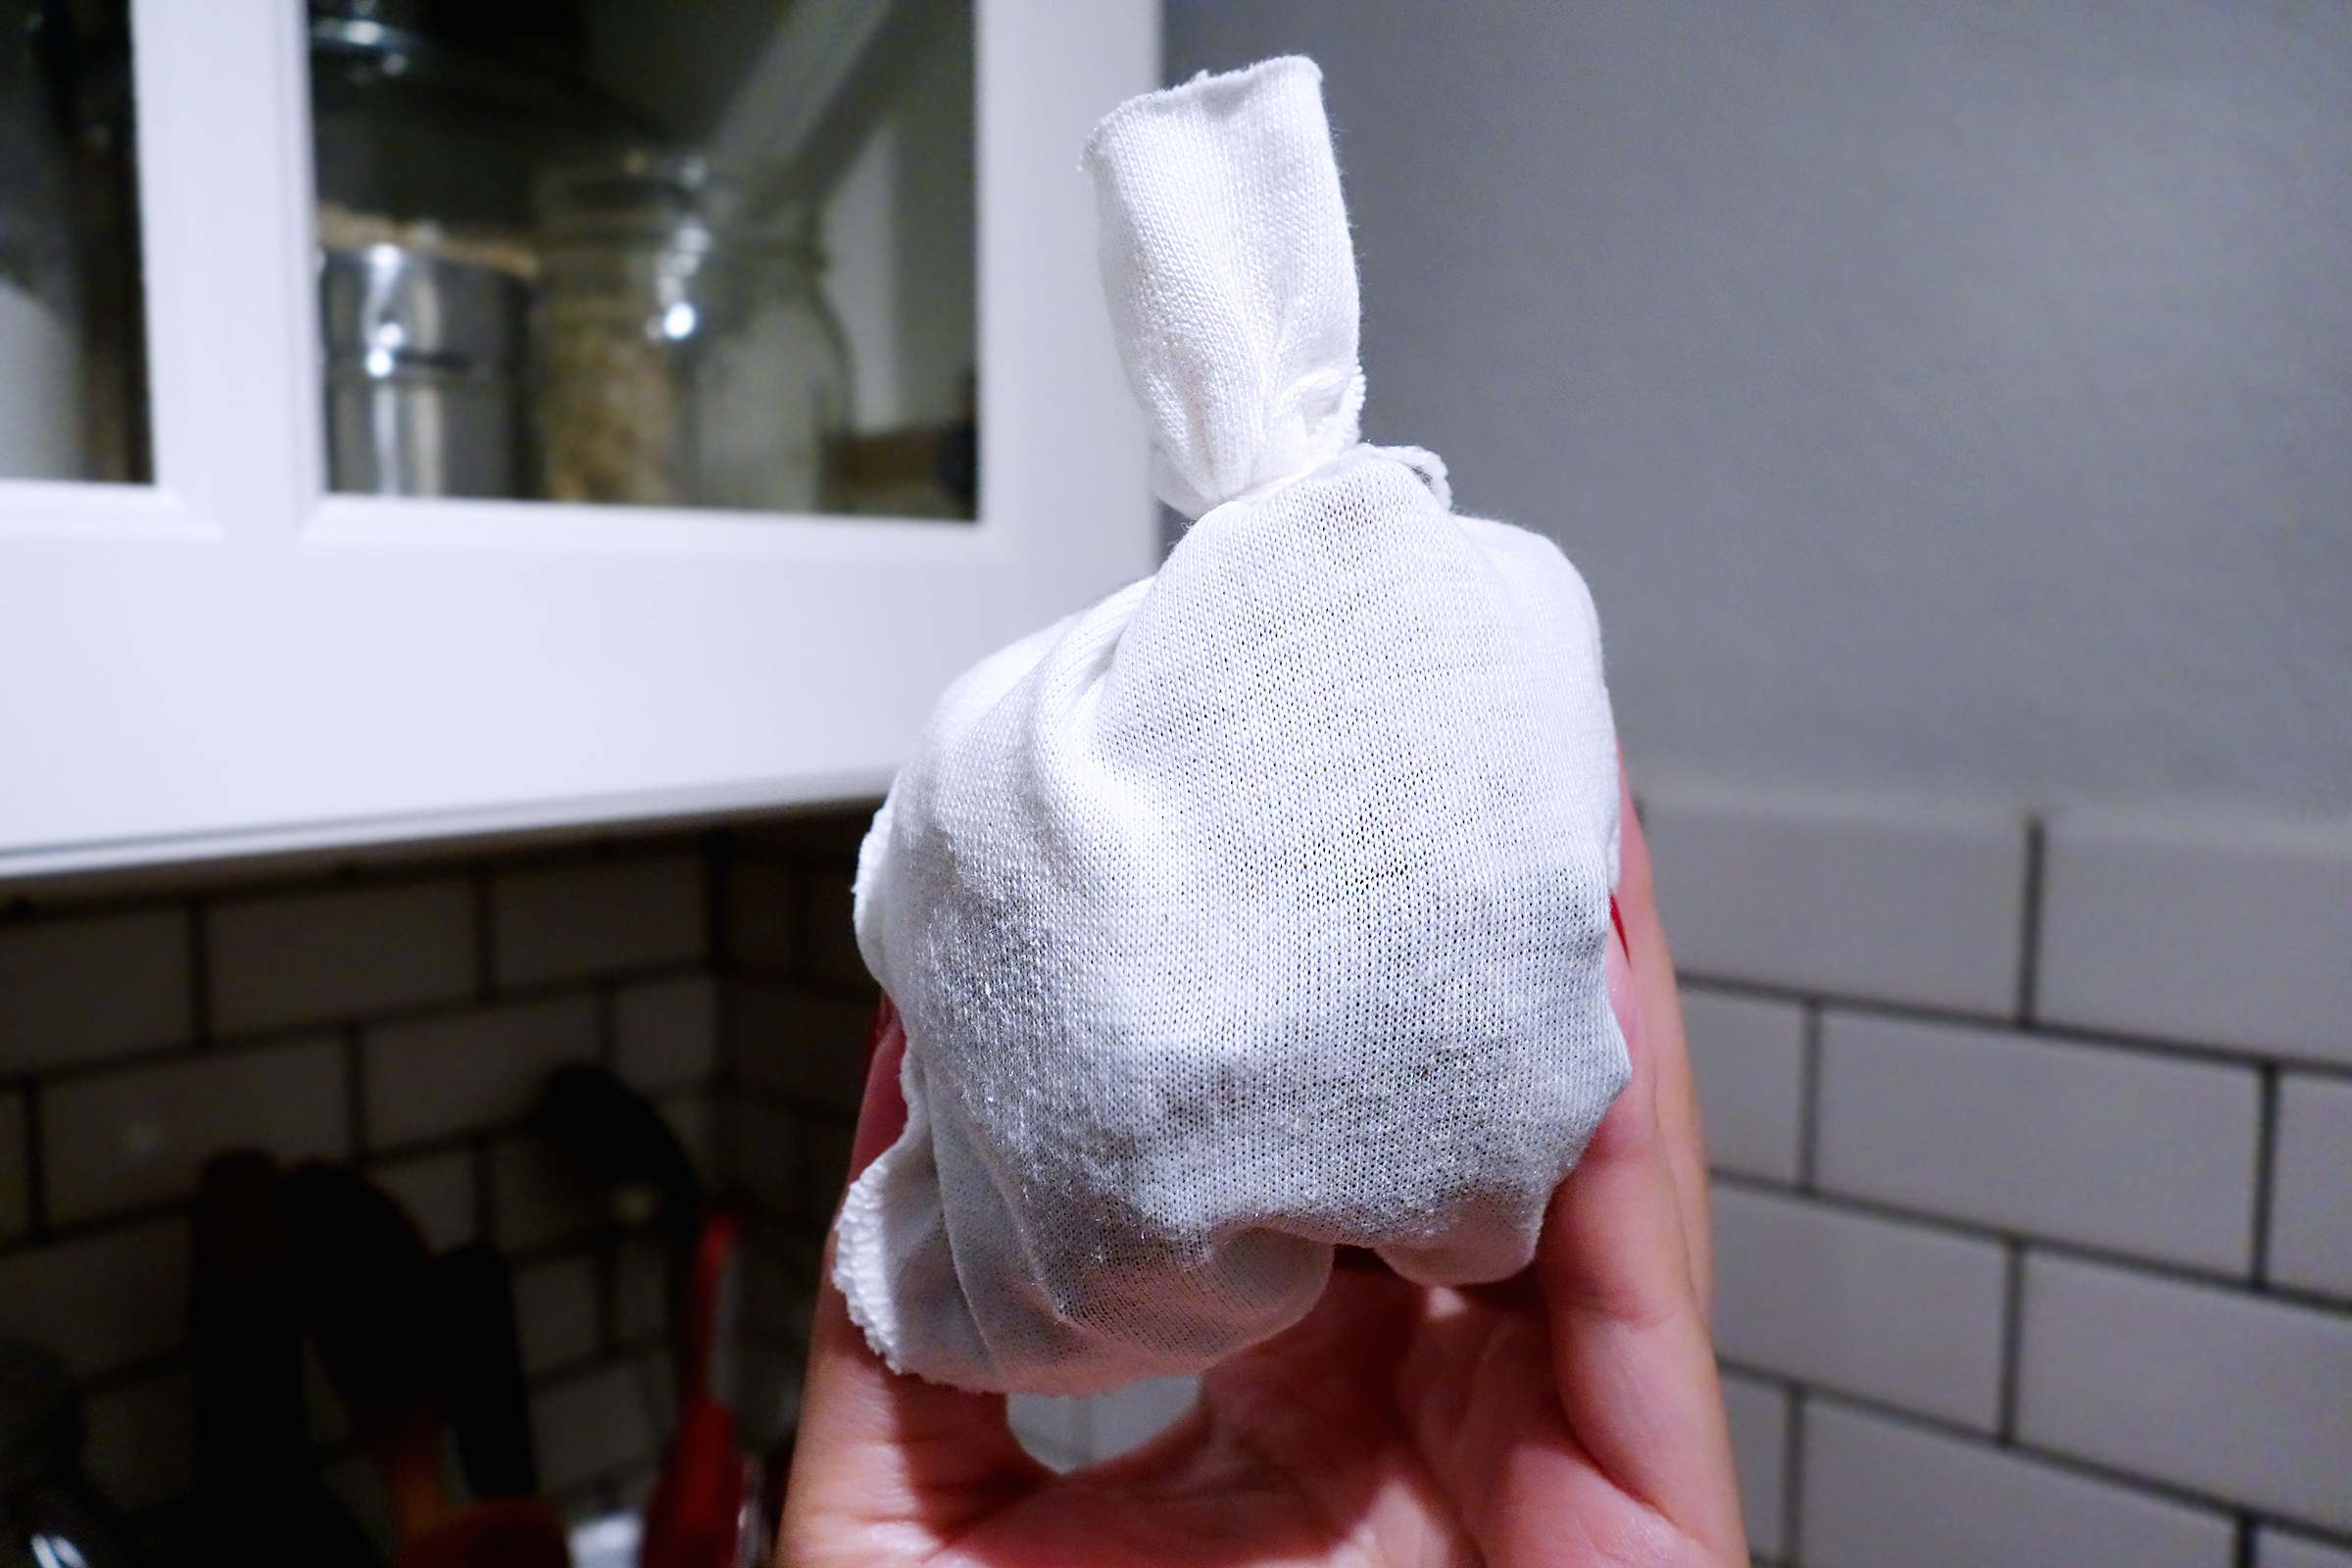
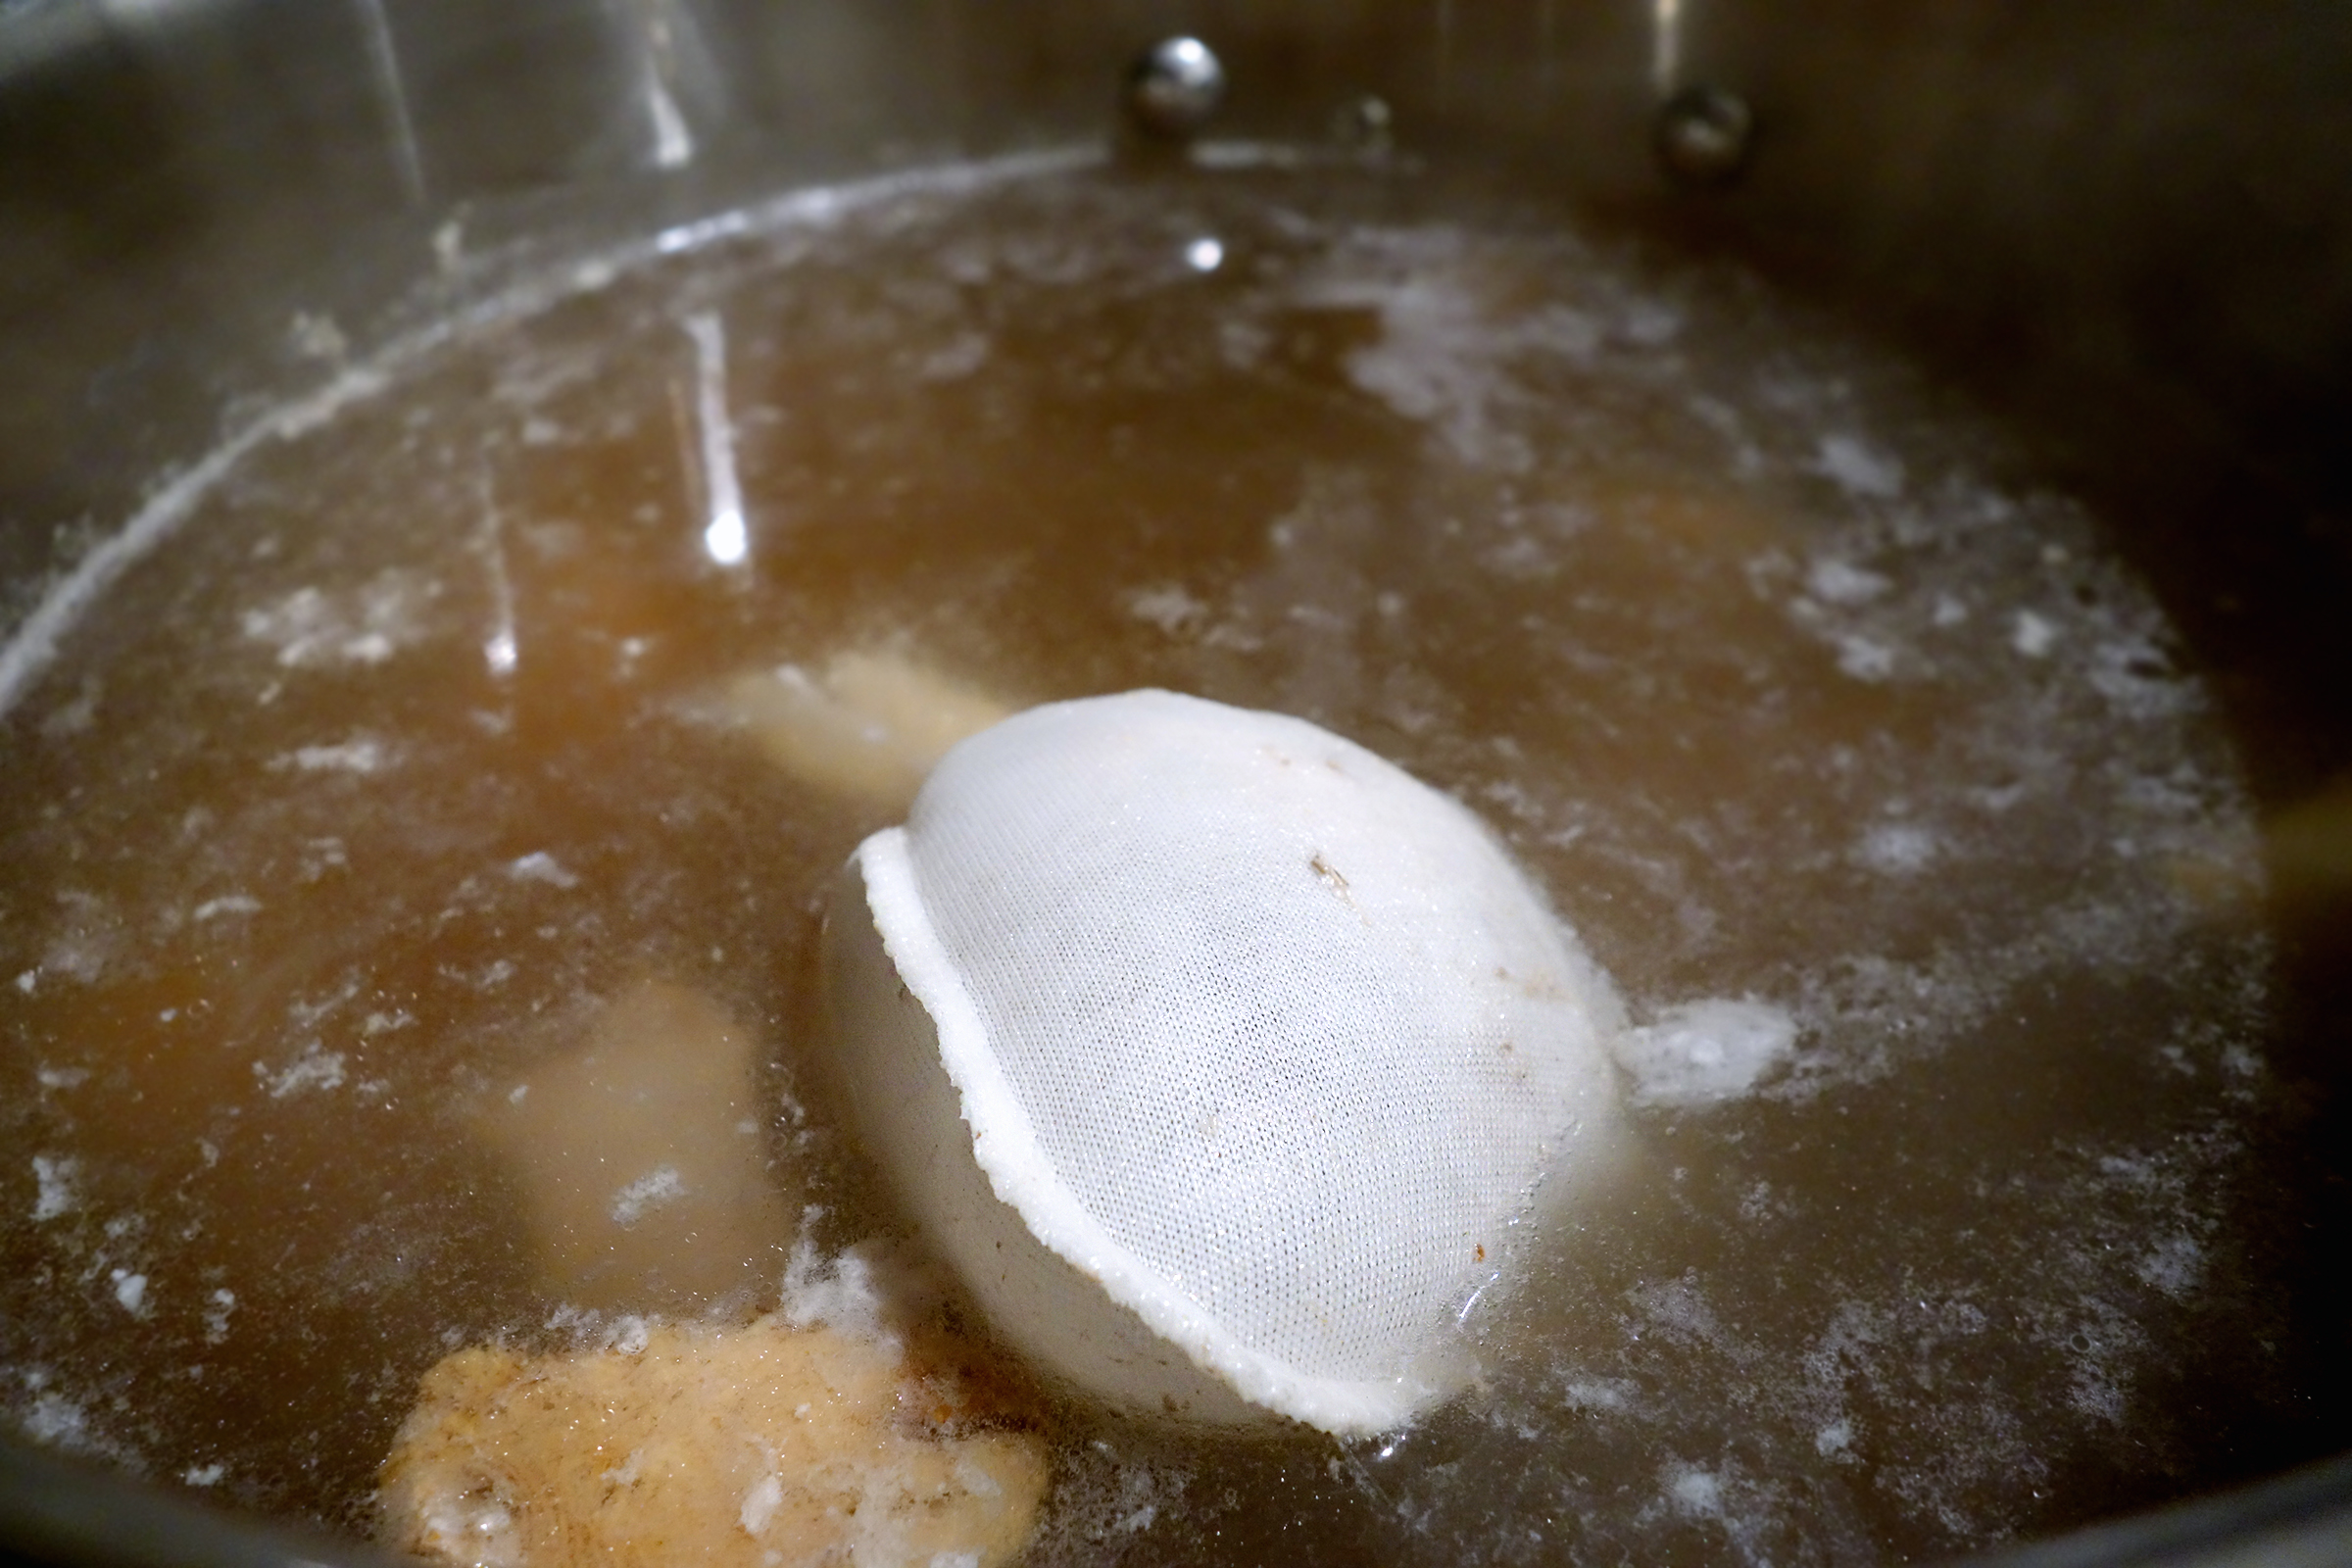
Water was filled about 1/2 way in a standard stock pot. While you are waiting for the water to boil, bundle the herbs that come with the package. I also peeled 6 cloves of garlic to be thrown in. Once the water boils, add your meat, garlic, some black fungus (Cloud ear fungus), and your herb bundle. As the ribs cook, you will notice some of the fat floating to the surface. Remove the top layer of fat with a ladle. I let it boil on medium high for about 30 minutes. I would then add about 3 tablespoons of salt and 1/2 a cup of Kikkoman soy sauce. I reduce the stove to low-medium and let it go with the lid on for 2 hours.

When the meat is fall off the bone or for tender, your dish is ready. Go grab some somen noodles and cook it with some boiling water, strain, and top it off with the herbal soup, rib and black fungus. I served this along with some pan seared baby bok choy.

You may also add some pre-fried tofu that is sold in packages to the last 30 minutes of cooking. This dish is heavenly with some hot sauce. This dish has a strong renown herb flavor, but it's something Chinese people eat and also healthy for you.

If you make this and never had it before, I would love to know your thoughts and suggestions.

Happy eating!

Daiisies


Comment

Comment

Fish caper de provence

During Sunday, I had a weird epiphany that I was going to do a whole crap load of grocery shopping that will last throughout the next few weeks. This shopping consisted of purchasing a lot of protein from Costco which will be wrapped and tucked away in the freezer, and Veggies which will be purchased throughout the week if we run out. Not really sure what dishes I will create, but I wanted to prep some meals, without really prepping 5 daily meals in one day. With that said, I decided creating simple side dishes will be a leverage to assist me making home cooked meals throughout the week.

For a little over $1 a pound, you can get a huge bag of broccoli florets for around $4. That is extremely cheap. And since the florets are thoroughly washed, I literally place the whole bag in the microwave. 3 minutes on one side, flip, 3 minutes on the other. This will steam the broccoli getting the cooking process done quicker and less mess.

I take out a sheet tray and cram every single one evenly. I crushed about diced 5 cloves of garlic to top the broccoli. Drizzle with some olive oil, salt, and a little pepper. This was roasted in a 400 degree oven for about 10 minutes. Once you see some dark char on your florets, it's okay to take out, let it cool, and store in a giant container to be left in your fridge until ready to use.

For the Garlic mashed potatoes, I went to a local Albertsons and purchased one of those $2.99 bags of russet potatoes. These were peeled, diced, and then rinsed. The potatoes were boiled with about 6 large cloves of garlic until tender, as you would with your mashed potato recipes. You can always reduce the amount of garlic or completely remove it if you are not a fan. I can really taste the garlic with just 6 large cloves. After the potatoes are done, strain the water, add 1/2 a stick of butter and about 1 cup of milk. This really depends on the texture that you like your potatoes. I started mashing and seasoning the potatoes with salt and dried parsley. After you are happy with your potatoes, let it cool, and then store in your fridge until read to use.

Ok so I obviously made up the name. The seasoning I used was Herb De Provence which are obviously a a handful of herbs, but includes lavender. The lavender smell really stands out. The first time I purchased herb de provence, I was pretty intimidated by how it smells. But after trying it on chicken, I literally had a mind blown mouthgasm moment because I love putting that sh*t on everything now.

I seasoned both sides of the fish with Herb de Provence, garlic powder and salt. The fish was pan seared and finished with some capers. The mashed potatoes I made prior, was seared on both sides until golden brown. The broccoli was just heated and kissed with a little olive oil.

Going back to prepping your side dishes. It makes wanting to cook so much more convenient. Instead of frantically pulling out different pants, you might like I do, get discouraged to cook. But look at how you can transform delicious mashed potatoes into something even more heavenly.

Stay tuned for more recipes using prepped side dishes. You can either thank me now, or thank me later.

happy eating!

Daiisies


Comment